Please note that this article dates a few years back and that it's not been updated since. The theoretical informations it contains can be applied to current cameras.
Click here to visit the main site.
Pseudo Lith
The lith printing process produces very interresting results. unfortunately, it requires a darkroom, equipment, chemical products and a lot of experiments. For more details on this process, check http://www.pauck.de/marco/photo/lith/lith.html.
I recently rediscovered the lith process while visiting Guy Glorieux's exposition. His lith prints were really superb. Listening to him describing the process, I realized how much I didn't miss the darkroom! Then, I thought of creating a technique to simulate the effects of lith in Photoshop.
My research on the Web returned a few different methods. The one described on Marco Pauck's site (http://www.pauck.de/marco/photo/lith/digital_lith/digital_lith.html) is very interresting. I created a Photoshop 7 action based on this method and adding a personnal touch to it.
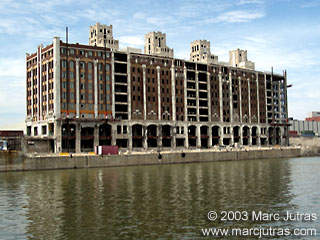
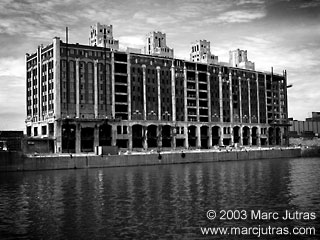
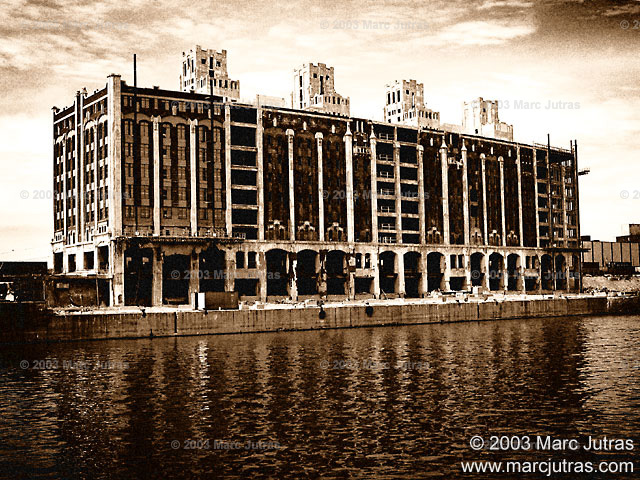
This action simulates a lith print with selenium toner from a black and white image (in RGB mode).
Here are the original image, the B&W version (with simulated vignetting) and the final result.
My Photoshop 7 action is available for free. It can be used and distributed as long as it is not modified.
Download Pseudo lith + Selenium v1.4
Notes:
This action is intended to be used with images that are in B&W, in RGB mode and without layers. Prepare your image accordingly.
This action was designed for images with a resolution of 2272x1704. If your image is smaller, you should use lower Film Grain settings. A pause has been added to the action before applying the Film Grain filter to let you set the effect.
New in v1.4: I have added a menu to the last step (Brightness/Contrast) so that you can adjust it. I realized my settings would not work for every picture and everybody.